Now the markets are hot melt pen using ABS / PLA wire, after cooling at room temperature, heated to melt molding, have access to power use, and the tip temperature will exceed 200 degrees, creating offensive smell; but we use a photosensitive resin and LED lighting, light liquid resin molding can be USB charging without access to the use of power, ready to be used, and the tip is completely cold, high temperature process without the use of odorless, and supplies a wide choice, multiple colors, Glow , temperature change (color varies with temperature changes) option. Therefore, low-tech pen melt, low cost, easy to imitate. Our pens are available in the market first team photocurable pen sale.
Color Options: YES Multi-functional Inks: Yes Portable: YES
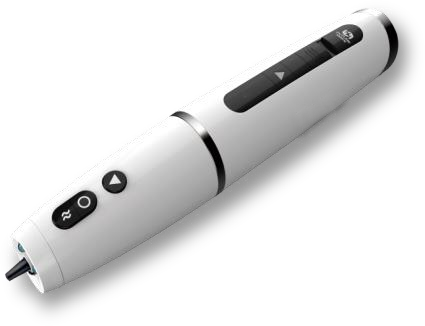
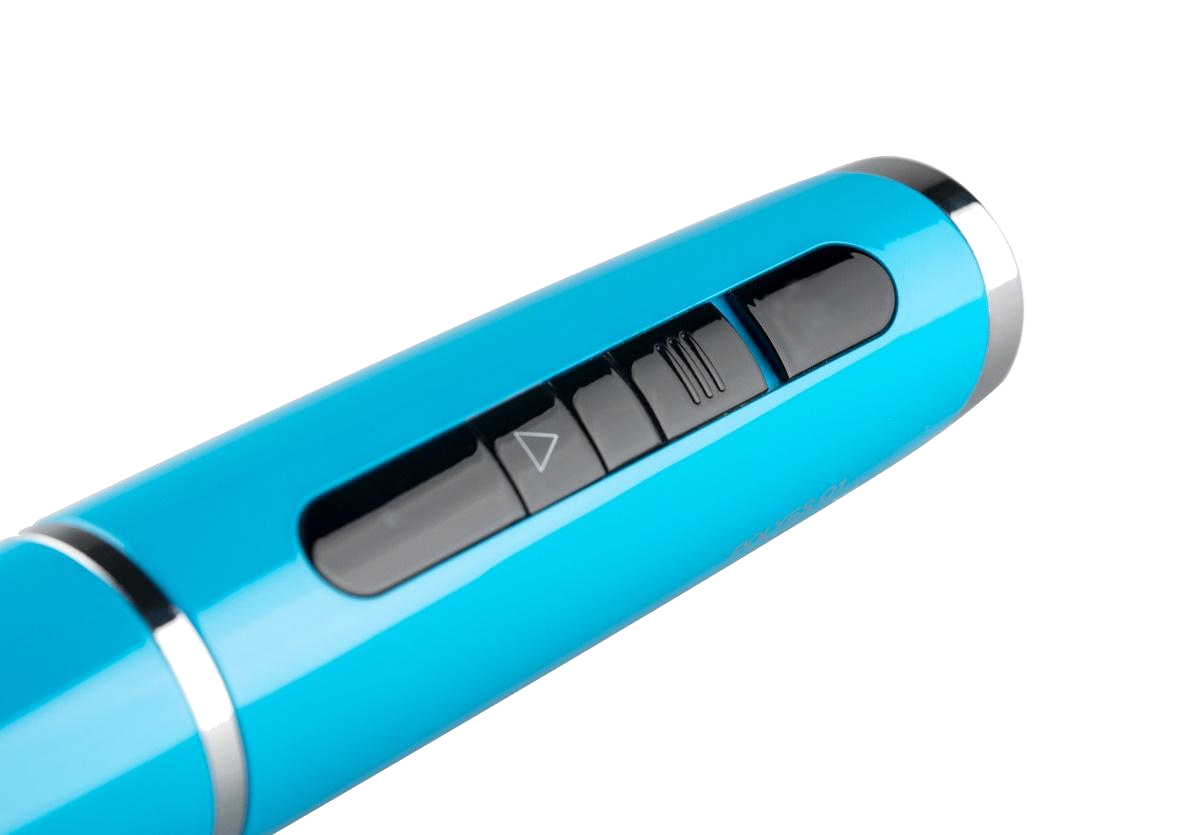
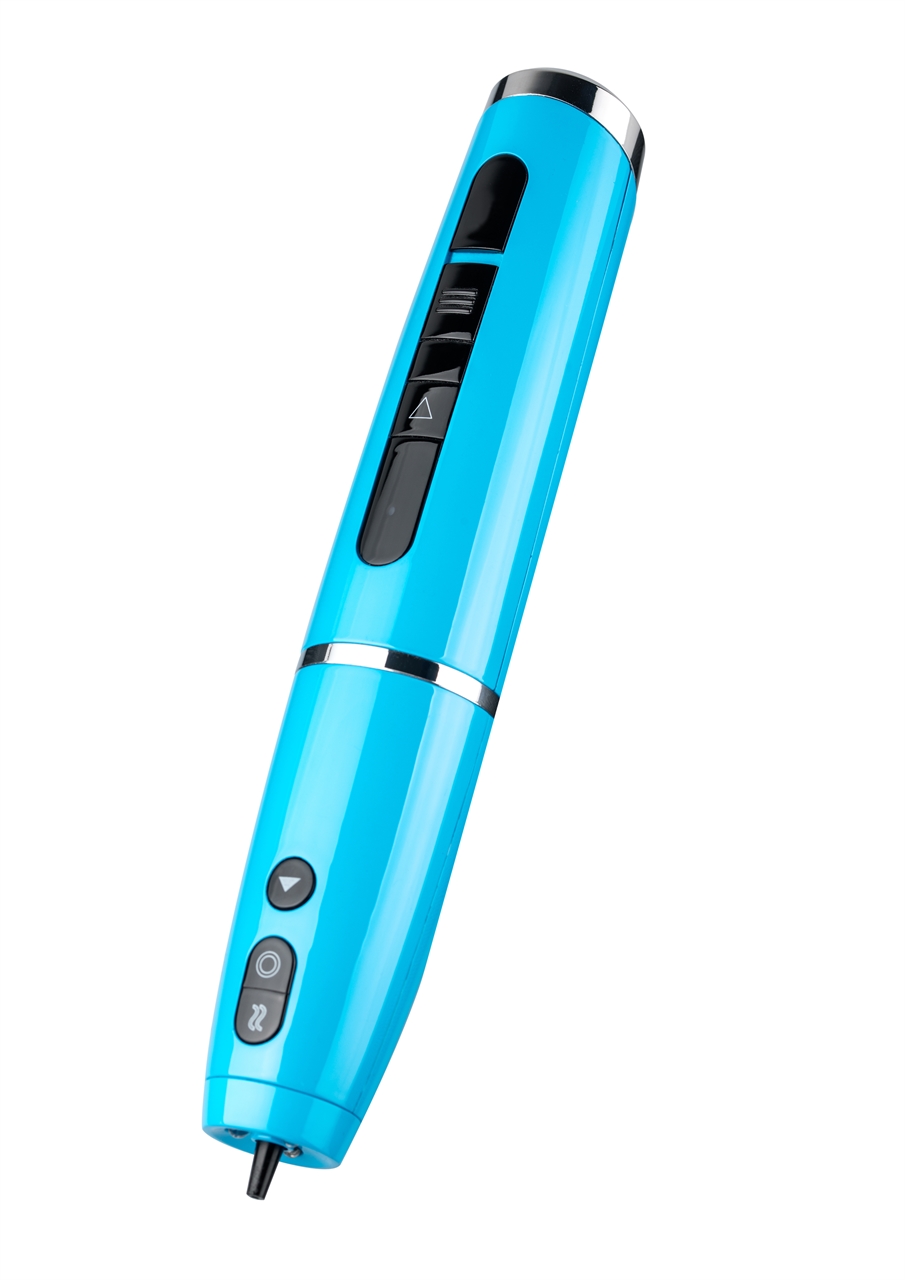
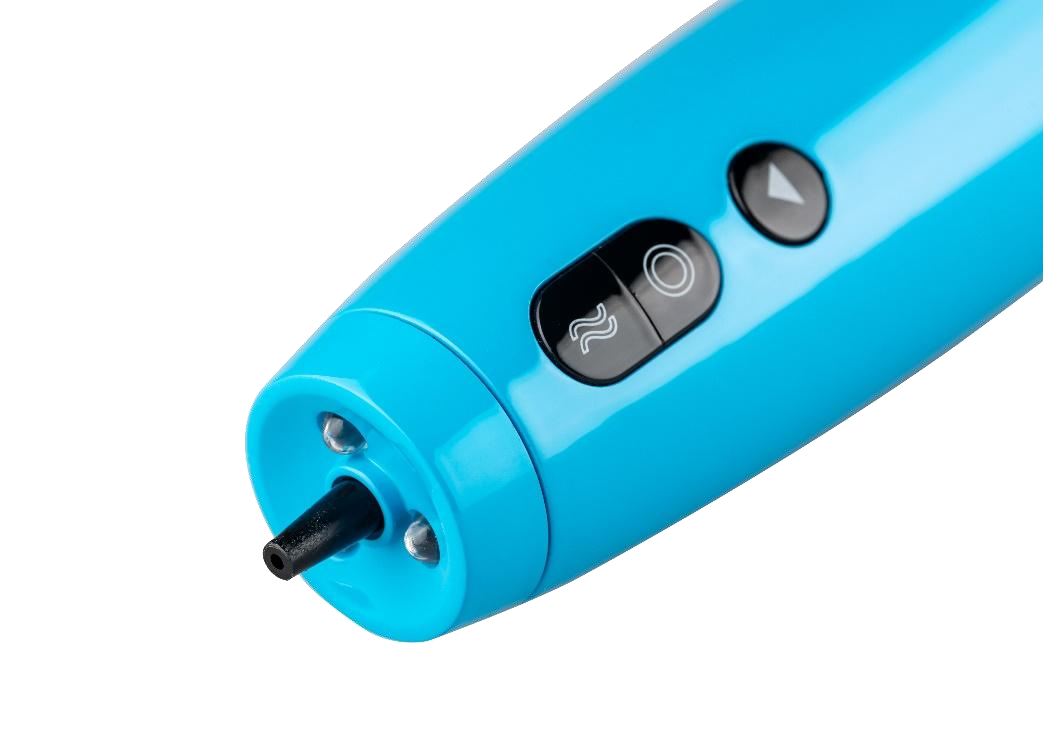
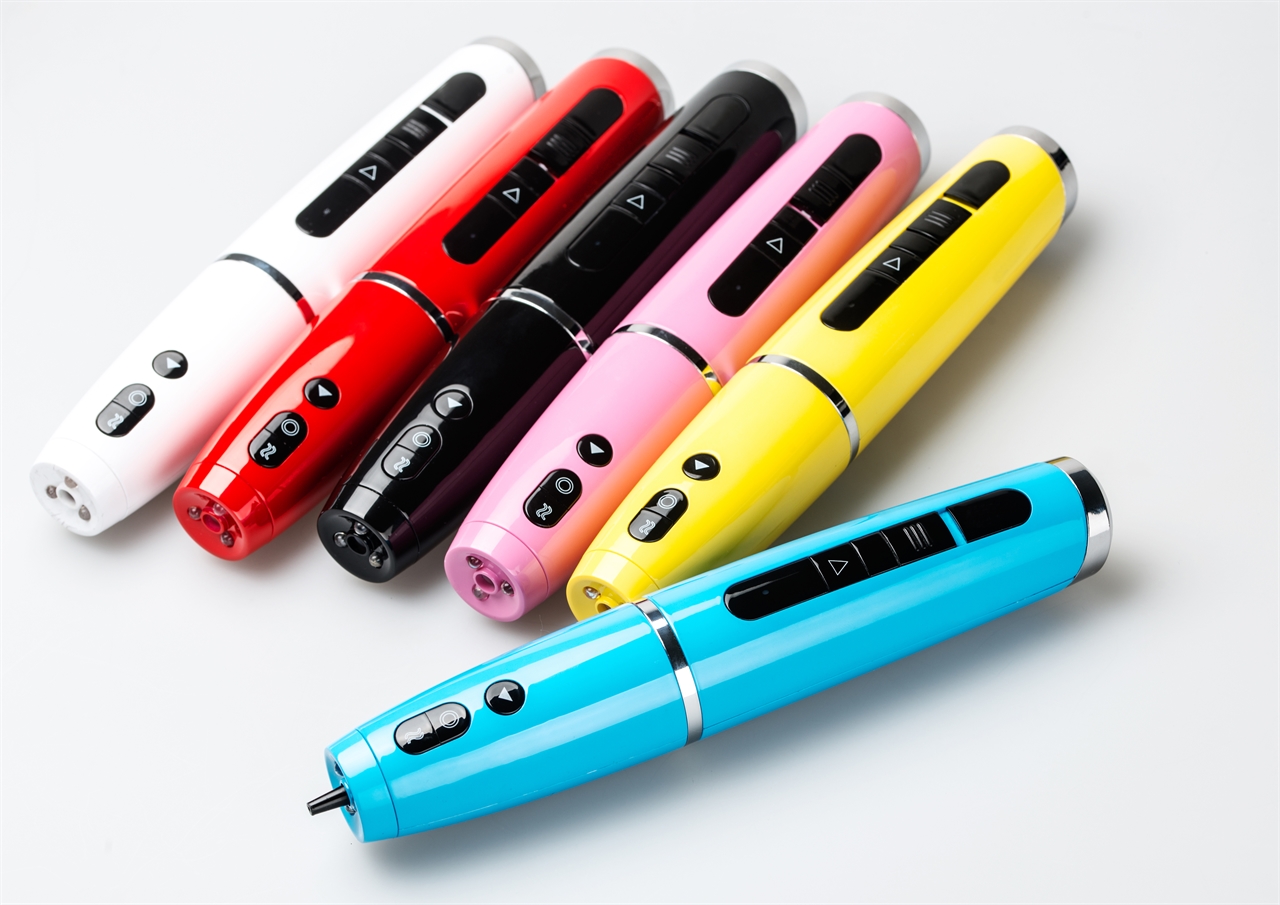
Chargeable: YES
Safety Mode: YES Pen dimension: 219*40*26mm Package dimension: 246mm*135mm*50mm Best Working Temperature: 15°C-25°C Certificate: CE, FCC, RoHS Package: FS996204*1, Inks*3, USB*1, Safety Pin*1, Use Manual*1, Dust-free Paper*1
High-tech
Open age of universal creation Open universal creation age: Creation can fly with ideas Continuous temperature-changing: painting on glass (graphic 1), the front is a blue swan, the back side is a red swan; pour hot water in the cup, when temperature achieve 30 ℃, the blue swan change to white(graphic 2); when temperature achieve 70 ℃, red swan change to white(graphic 3); Finally pour cold water (less than 30 ℃), it will change back to original color(graphic 4). Works Created by FS996204
The Safest 3D Creative Printing Pen in the World Technology Traditional hot-melting products(melting plastic) FS996204 (photo-curing charging portable) Using light-sensitive resin which is liquid, extrude through micro motor, finalize Brief Using PLA/ABS material, heating through 200 ~ 220℃ to melt into introduction the design and curing after the lighting of LED, it is portable after charging liquid, then extrude to draw and wait until solidified. without the limitation of power supply. It adopts the principle of Glue gun, to extrude the PLA/ABS after Wireless and Chargeable, without danger or hot. Safety switch to keep eye Security melting with 200-220 ℃. Users will easily get burnt and must use with out of Led Light. power supply. Fault condition Consumable material itself contains impurities which easily cause jam Using high purity resin, without impurities, no jam. Replaceable ink to nozzle. Lower usage cost, Better customer experience. Limited color richness A variety of colors, Different effects like Aromatic, Glow in Dark, Material No special effect Transparent, Color Changing and so on
technical barri Low technology, easy to copy er High technical barriers, with multiple patents, including laser, mechanical and electrical, materials technology
CONTENT Part Two Part Three Market How to Draw Awards
CONTENT Part Two Part Three Market How to Draw Example of Introductory Course Introductory Course (One)Butterfly Key points: The courseware conforms to two characteristics: 1. The operation is simple and easy to draw 2. Can be recognized easily, east to win applause This course focuses on relationship between plane and space and difference between 2D and 3D in the real world
Example of Introductory Course Steps
Example of Introductory Course Introductory (Two)Flowers and plants Key points: To realize one unique function of FS996204 3D creative printing pen-moulding. The course will focus on the moulding theory, to develop thinking consciousness
Example of Introductory Course Example 1 by moulding:Grass(headwear)
Example of Introductory Course How to draw it? Pre-preparation: step1:
A clamp Draw the shape on the surface of A piece of leaf or petal the leaf with 3D creative pen, then drawing a stem then to be cured by LED light
step2: Stick each part with FS996204
Example of Introductory Course Example 2 by moulding
Example of Introductory Course Example of drawing directly
Key Points: The work will not only look in similar appearance as real, but also rolls like real wheel Example of Intermediate Course Steps
Example of Intermediate Course Steps
Example of Intermediate Course Finished Work
Example of Advanced Course Advanced courseware (Two)DIY Mechanical bicycle Key Points: The key point is joint and the difficulty are those four sleeves, there are many basic parts, so we need to separate those parts according to proportion. The course will focus on the sleeve principle, to teach children how to design and make the model. Steps Attention: The key point is the design of spindle, ensuring children to think about the principle of rotating, then design it by themselves. Step1: Step2:Draw the handlebar and the Step3: Draw the front wheel by FS996204 part attached to the the front wheel Stick them
Steps Step4: Draw the back wheel with Polyes Step5: Draw the seat and the part Step6: Stick them Q1 attached to the back wheel Steps
Step7: Draw the car rims in different sizes, and connect them with a chain
Step6: Draw the central triangle bracket finally
Steps Step9: Stick each part together, then a bicycle is finished
PS:Children can learn about the moving principle of a bicycle through the rotating of wheels.
 China:
Shenzhen
Shanghai
Chengdu
Beijing
Guangzhou
China:
Shenzhen
Shanghai
Chengdu
Beijing
Guangzhou
 United States:
New York
Glasgow
California City
Washington
United States:
New York
Glasgow
California City
Washington
 Canada:
Montreal
Baie-d'urfe
Ottawa
Canada:
Montreal
Baie-d'urfe
Ottawa
 France:
Bezons
Ostwald
Paris
France:
Bezons
Ostwald
Paris
 Japan:
Kitanagoya
Fukuoka
Yokohama
Tokyo
Japan:
Kitanagoya
Fukuoka
Yokohama
Tokyo
 Russia:
Samara
Kaliningrad
Moscow
Russia:
Samara
Kaliningrad
Moscow
 Sweden:
Norrkping
Stockholm
Kvissleby
Sweden:
Norrkping
Stockholm
Kvissleby
 United Kingdom:
Manchester
Bourton
United Kingdom:
Manchester
Bourton